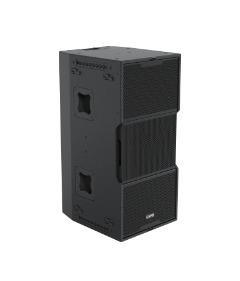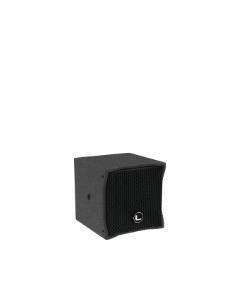
CSM- 210 (65/85)
Self-powered stage monitor
The CSM-210 is a high-output extremely compact and extremely powerful 3-way tri-amplified, self-powered, DSP integrated, symmetrical Mid/High Coaxial Driver designed for stage monitor or conventional point source use.
Description
The CSM-210 is a compact and powerful 3-way, tri-amplified, self-powered speaker designed for medium-sized touring and fixed installations. It features two 10” low-distortion drivers with advanced Malt Cross cooling, neodymium magnets, and weatherproof cones, ensuring reliable low-frequency performance. For mid and high frequencies, the system uses an ultra-light 1.4” dual diaphragm coaxial compression driver, providing clear and detailed sound across a wide range.
The speaker’s innovative voice coil design improves heat dissipation and minimizes power compression, allowing for higher output and better reliability. The midrange driver covers 300Hz to 7kHz with a smooth and linear response, while the high-frequency diaphragm ensures excellent transient response and efficiency from 4kHz to 22kHz.
The CSM-210 is powered by a 3000W 3-channel Class-D amplifier with Power Factor Correction (PFC), offering great efficiency and performance while lowering power consumption. It also includes thermal, short-circuit, and overload protections for added durability.
With a 64-bit/96kHz processor and 32-bit/96kHz AD/DA converters, the CSM-210 ensures clean, high-quality sound. The 2.8” user interface and Ethernet ports allow easy control and monitoring via the OCS platform and Rainbow 3D prediction software.
Made from premium birch plywood and finished with a protective coating, the CSM-210 is built to last and deliver dependable performance in any setting.
Key features
|
→ Extraordinary power-to-size ratio |
|
→ Three-way active system |
|
→1.4” dual diaphragm compression driver |
|
→ Integrated Digital processor (64 bit / 96 KHz) with FIR linear phase filtering |
|
→ FIR linear phase filtering |
|
→ Ergonomic design in premium birch plywood & finished in polyurea |
|
→ 2.8” IPS display with multifunction joystick control |
Perfectly suited for:
| → Live events | |
| → Medium and sized stadiums | |
| → Auditoriums | |
| → Houses of worship | |
| → Theatres | |
| → Clubs | |
Technical Data
Components |
2 x 10” (3” voice coil), neodymium magnet, 1400W (AES) |
MF: 3” (76mm) voice coil, 90W (AES)HF: 2” (51 mm) voice coil, 50W (AES) |
|
| Frequency Range | 63 Hz – 20 KHz (-6dB) |
Coverage |
Rotatable 60ºH x 50ºV / 80ºH x 50ºV |
| Max SPL |
Low: 130.5 dB / 136.5 dB – Mid/High: 131 dB / 137 dB |
Power amplifier |
3000 W Class D with switching power supply & PFC LF: 1 x 1500 W | MF: 1 x 750 W | HF: 1 x 750 W |
| DSP Processing |
Internal Lynx Processor DSPB-FL. 96 KHz / 64 bit double-precision, DSP with FIR filter linear phase |
Crossover |
Digital: FIR filter 600 Hz / 4500 Hz |
| Control |
User control interface with 2.8” IPS screen and multifunction joystick controller |
Control connections |
USB (DSP programming) / Dual Ethernet port |
| Input |
BAL/UNBAL XLR connectors analog input AES/EBU digital input |
Nominal voltage |
100 – 240V AC @ 50-60 Hz |
| Operating voltage |
85 – 264V AC |
AC Connections |
16A Neutrik powerCON TRUE1 TOP with looping output |
| Finish |
Polyurea coating, high grade resistant paint |
Material |
15 mm premium birch plywood |
| Dimensions |
407 x 588 x 572 mm (H x W x D) |
Weight |
30 kg (77.1 lbs) |

 DSP configuration
DSP module configuration panel
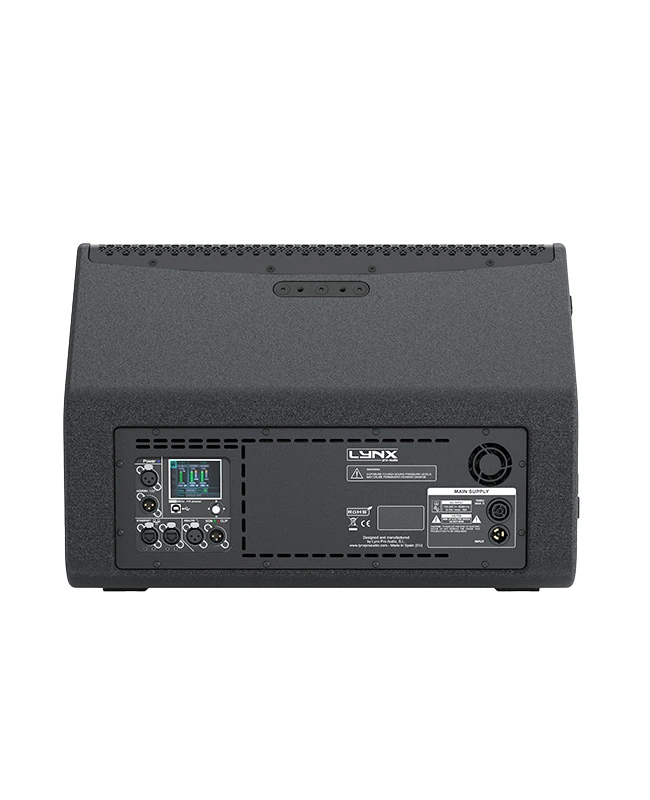
On the back pannel of the cabinet you will find the digital control area. From the compact joystick located below the screen you are able to configure the basic adjustment functions of the internal DSP.
Just move the joystick to select the icons on the left of the screen. You can enter into the following functions: Home, settings, folder, configuration and information. Please note that you must apply the desired configuration in each one cabinet and requires electrical power to work.
If changes are not made the display will automatically dim to avoid unnecessary light in situations where light is not wanted. To re-activate the light simply press the joystick.
The following screens are an example and may vary slightly for each cabinet.
Configuration panel:
 |
HOME On the main screen you can see the cabinet’s input and output: • Input: You can see a vumeter with the input level and a clip signal. • Output: You have a vumeter with the output level (0 dBu is the amp’s maximum level) You can check the compressor and control the dynamic activity. |
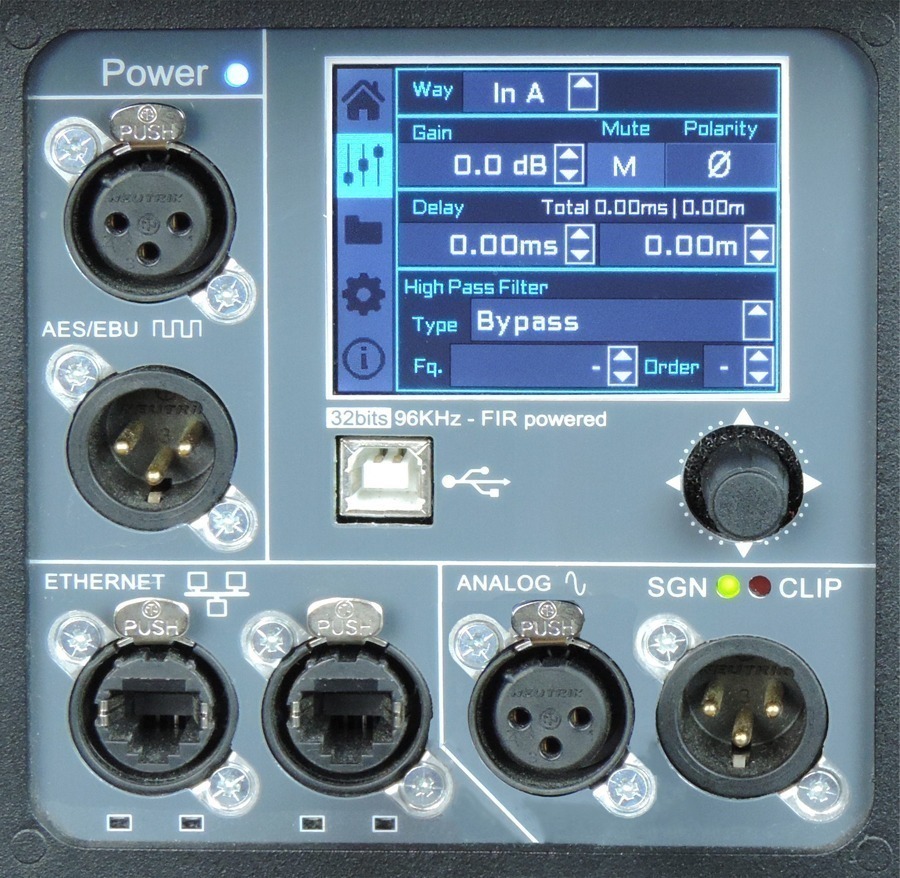 |
SETTINGS This panel allows you to change the gain, polarity, mute and the delay for the inputs. You also have the possibility of putting a high pass, changing the type of filter, frequency and order.
|
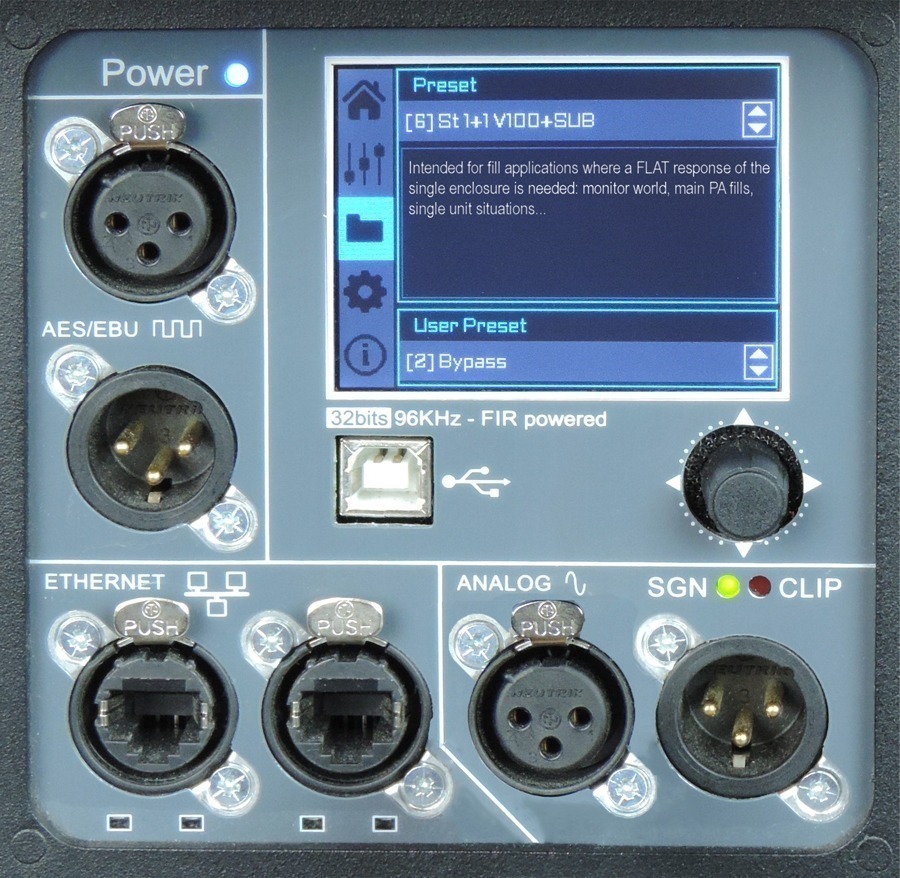 |
FOLDER The folder screen shows you the name of the preset and its description. Using the joystick you can change the preset. |
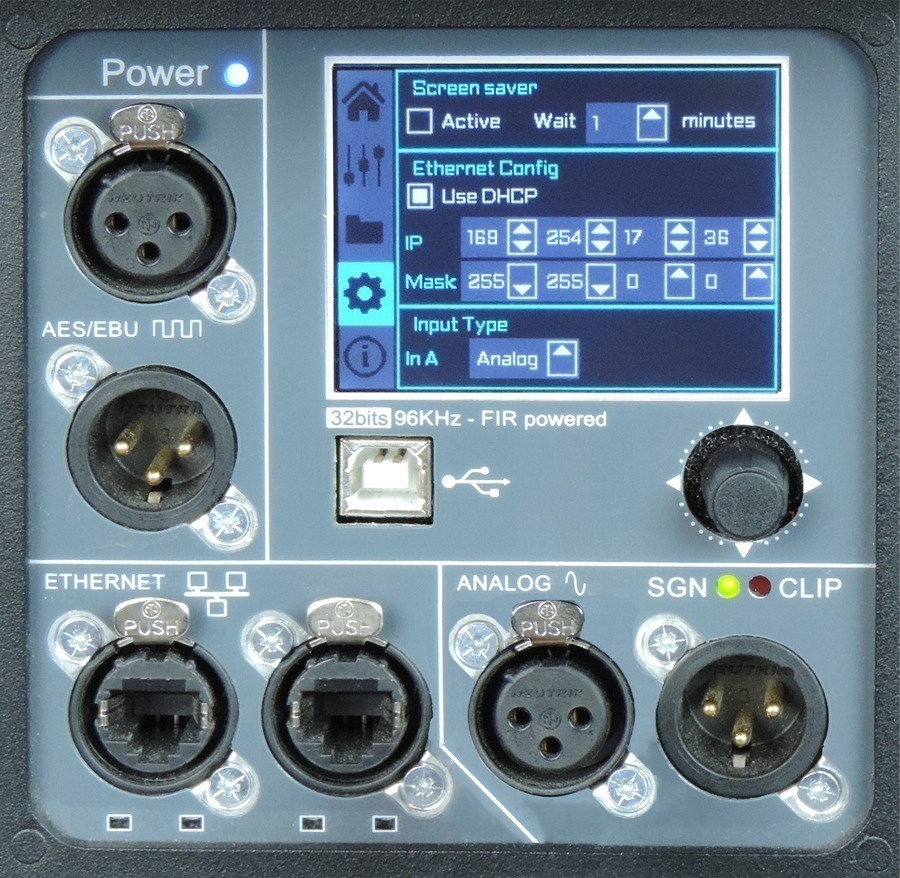 |
CONFIGURATION This screen is to configurate Ethernet. You can choose automatic or manual. You can also configure the screen saver. And here you have the input selection. You can choose between analog or AES3 for channel 1 or channel 2. |
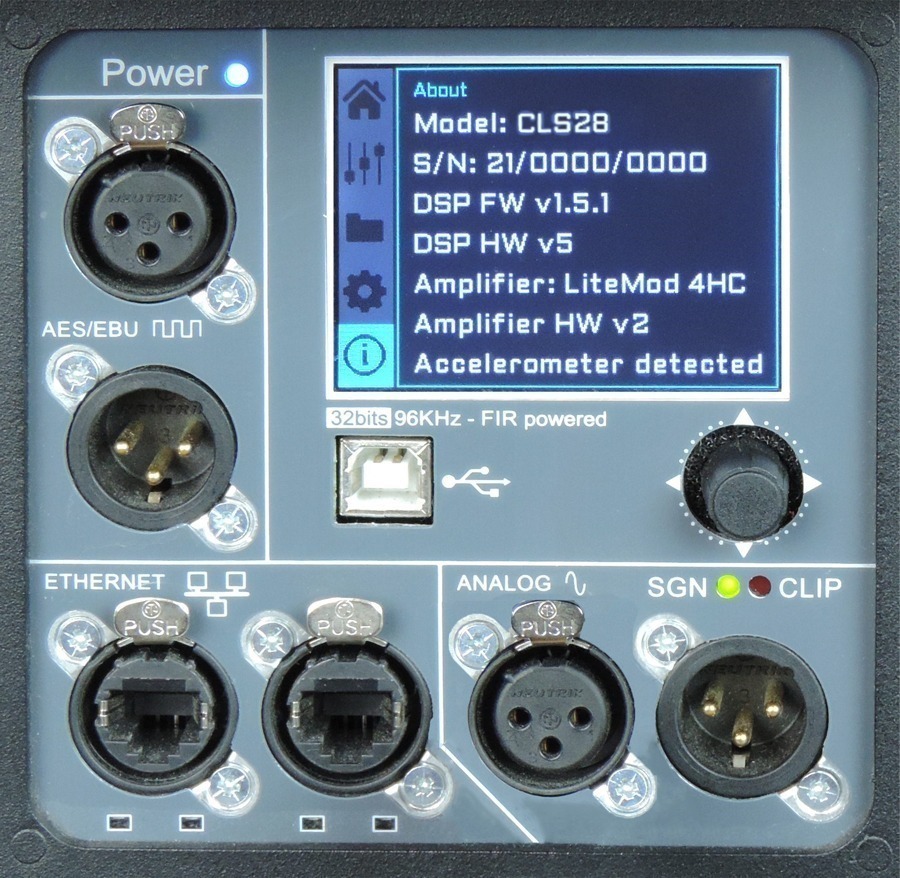 |
INFORMATION The last screen shows you some general information regarding the cabinet’s components. Here you can see the cabinet model, its serial number, DSP firmware and hardware versions, amp module model with hardware version, as well as the accelerometer status. |
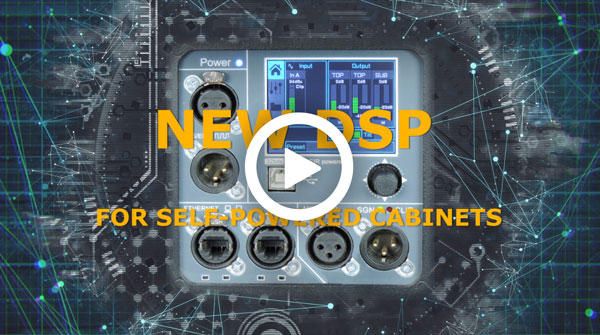
Watch the following TUTORIAL to understand how it works:
DSP module configuration panel
On the back panel of the cabinet you will find the digital control area. From the compact joystick located below the screen you are able to configure the Basic adjustment functions of the internal DSP.
Just move the joystick to select the icons on the left of the screen. You can enter into the following functions: Home, settings, folder, configuration and information. Please note that you must apply the desired configuration in each one cabinet and requires electrical power to work.
If changes are not made the display will automatically dim to avoid unnecessary light in situations where light is not wanted. To re-activate the light simply press the joystick.
The following screens are an example and may vary slightly for each cabinet.
HOME
On the main screen you can see the cabinet’s input and output.
• Input: You can see a vumeter with the input level and a clip signal.
• Output: You have a vumeter with the output level (0 dBu is the amp’s maximum level) You can check the compressor and control the dynamic activity.
SETTINGS
This panel allows you to change the gain, polarity, mute and the delay for the inputs.
You also have the possibility of putting a high pass, changing the type of filter, frequency and order.
FOLDER:
The folder screen shows you the name of the preset and its description.
Using the joystick you can change the preset.
CONFIGURATION:
This screen is to configurate Ethernet. You can choose automatic or manual. You can also configure the screen saver.
And here you have the input selection. You can choose between analog or AES3 for channel 1 or channel 2.
INFORMATION:
The last screen shows you some general information regarding the cabinet’s components.
Here you can see the cabinet model, its serial number, DSP firmware and hardware versions, amp module model with hardware version, as well as the accelerometer status.
Watch the following TUTORIAL to understand how it works:
More features
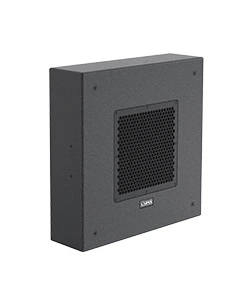
Hardware for CSM- 210
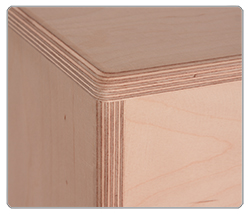 |
EnclosureThe CSM- 210 cabinet is constructed from 15-ply premium birch plywood and finished with polyurea coating |
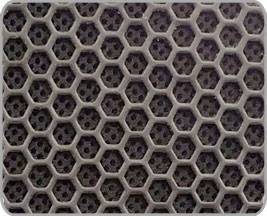 |
GrillThe CSM- 210 has two heavy duty, powder coated front grille with a special acoustic rear fabric to protect the transducers against dust and dirt. The medium frequencies grille uses a magnetic attachment system that can be removed for easy access and rotation of the diffuser. |